007 First Light Guide: How to Complete The Past Never Dies Challenges
Getting full completion in the fourth mission requires a lot of patience, a few checkpoint restarts, and physically throwing a guy off a balcony.
The Past Never Dies is easily one of the most demanding missions in 007 First Light. You have 23 distinct challenges spread across a bustling market, a hidden shipwreck, an underground fight ring, and a heavily guarded boat. If you manage to knock them all out, you unlock the Mauritania outfit for your TacSim runs. Because some of these objectives openly conflict with each other, you will absolutely need to run specific checkpoints multiple times. If you are trying to figure out how many hours this 100% run will actually take you, check out my 007 First Light How Long to Beat Chapter List to plan your schedule. Let me walk you through the absolute easiest ways to handle every single requirement.
The Full Challenge Breakdown
Before you start worrying about individual headshots, here is the complete list of what the game actually expects from you in this chapter. Three of these are "meta" challenges that automatically unlock when you complete specific trios of other objectives.The Full Challenge Breakdown
Dominating the Fight Pit
The underground arena is purely about brawling, but you can easily fail an objective here if you get too aggressive too fast.
Fall Guy and Bottled It!
When Omar steps up as your first opponent, ignore your basic attacks. Hold down your charge trigger the second the fight starts and tackle him straight over the arena railing for an instant win.
For Bottled It!, you are required to strike every single combatant with a throwable item. There are exactly four enemies in this sequence and a handful of glass bottles lying around the dirt. Pick up a bottle and make sure you smash it over your opponent before you actually empty their health bar.
Hammer Time
The Hammer serves as your final wall in the arena. If you take out the three guys before him and then put him on the floor, you secure this challenge automatically.
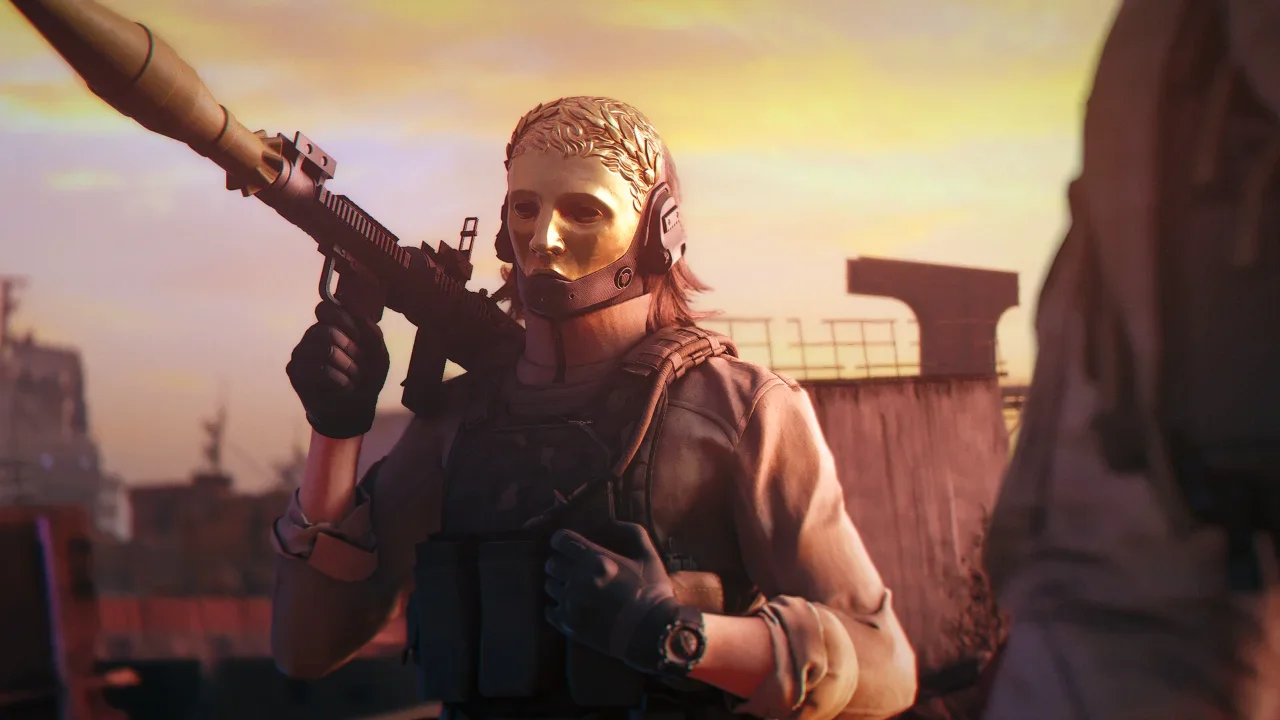
Infiltrating the Scorpius Hideout
Once Moneypenny finishes her dialogue, walk downstairs and hook a hard right. You will spot two guards locking down a door.
Silent Line and Soldier Boy
To secure Silent Line, you need to grab the burner phone inside the hideout without dropping a single body. Before you waste time trying to sneak past the door guards, hack the nearby television with your Q-Lens or just hit the generator switch on the right side to force them out of position.
Once you are inside, avoid the ground floor completely. Clamber up the box on your left, walk up the stairs, and keep to the right side to find your objective safely. While you are inside the shipwreck, look for a table sitting on the left side of the bottom floor. Grab the hat resting there to throw on a disguise and check off Soldier Boy.
Making Money in the Market
The market operates as a massive hub area packed with side hustles. I strongly suggest knocking these out systematically so you are not running laps around the map for cash.
Sightseeing and Secure Transaction
Walk past the yellow container near the market entrance and turn left. You will find a guy chatting on a phone. Eavesdrop on him to trigger the crypto wallet side gig. Follow your new waypoint to hack his wallet and clear Secure Transaction. Doing this naturally leads you toward the antenna. The guards surrounding the antenna follow very strict patrol loops. Watch their patterns and slip past them without throwing a single punch to grab the Sightseeing challenge.
Cupped and The Shooting Range
Head over to the right side of the market to find a cup game that costs $3,500 per attempt. Before you throw away your cash trying to guess with your bare eyes, turn on your Q-Lens. You have to use the lens to track the hidden jewel (because the game physically cheats otherwise).
Further past the yellow container, you will find the shooting range. Paying the $3,000 entry fee gets you Shoot 'Em Up. For Gunslinger, you need to hit all 10 targets in one session, so pace your shots.
Show Me the Money and Tech Support
Your goal is to hoard $140,000. The absolute fastest route is clearing the Fight Pit, beating either the cup game or the shooting range, and then wrapping up the Scorpius deal (which triggers after an eavesdrop in the back right of the market).
Once your wallet is full, look around for a stressed DJ named Rogue Decoder. Spin around to locate his soundbar, trace the bright yellow cable to a fuse box, and keep following it to the main generator. Repair both boxes to finish Tech Support.
The Crane and 009's Boat
After the auction sequence wraps up, you have to push through a massive construction crane area to reach 009's boat. Your approach here dictates which challenges you complete.
Easy Does It and No Trouble At All
You can clear both of these at the same time if you are patient. Easy Does It asks you to reach the crane with zero knockouts or kills. No Trouble At All demands zero confrontations, meaning no guard can catch you trespassing. Map out their patrol routes and ghost your way to the end.
Explosions and Takedowns
If you prefer combat, this crane yard is an absolute playground. Choke out 10 isolated guards to secure Silence is Violence. For The Big Bang, you need to blast three enemies simultaneously. Group a bunch of guards near the red barrels in the crane yard and pop a shot, or wait for the massive shootout at the end of the chapter where enemies clump up naturally.
Laser Show
Once you board the boat, you need to trip the security lasers using every single method available. Turn on the sprinklers, toss your Smoke Pod, and shoot the hanging pots with either a Phone Dart or your Laser Strap. Skip any of these and the challenge fails.
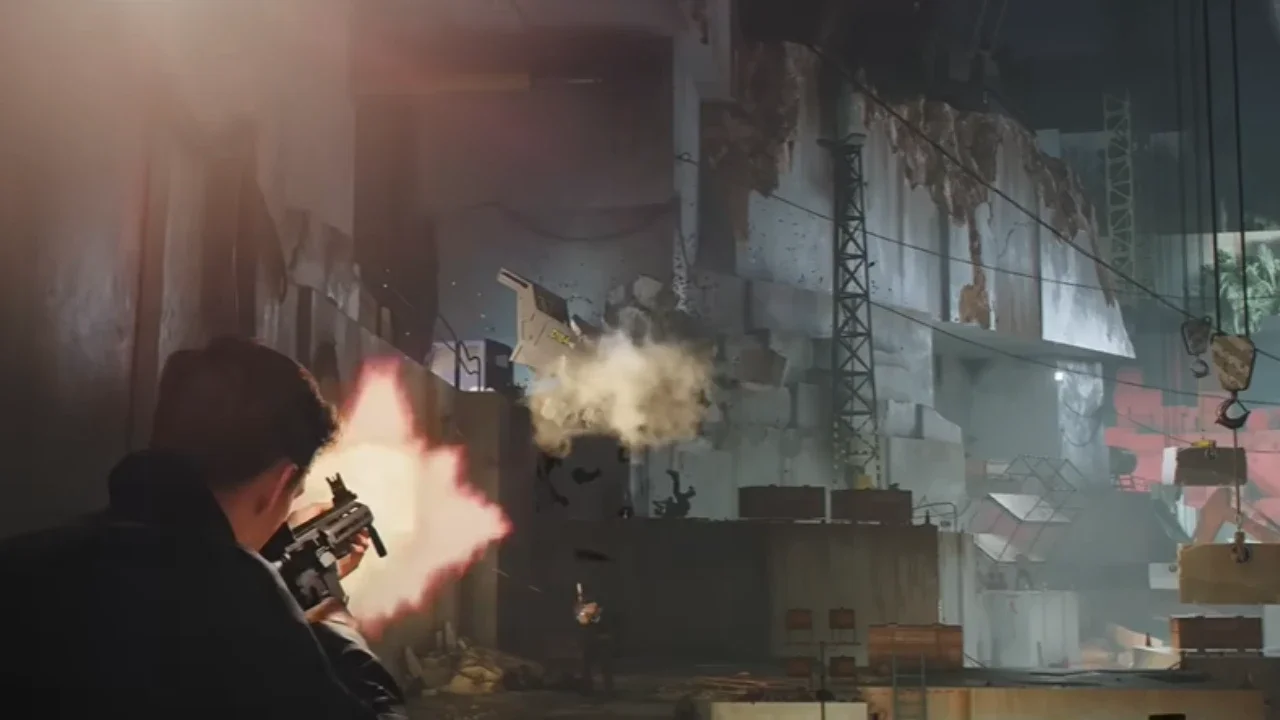
The Escape
The final stretch of the mission puts you behind the wheel and then forces a desperate shootout.
Wheels Up and Make Them Count
While driving the Land Rover toward the shipwreck, stay heavy on the gas. Hit the dirt ramps at top speed to launch your car into the air and trigger Wheels Up.
At the very end of the chapter, your rifle runs dry and a buddy tosses you a pistol. You have exactly eight rounds in the magazine and you need six kills. Trigger your Focus ability to slow down time and line up your headshots cleanly so you do not waste ammo.